

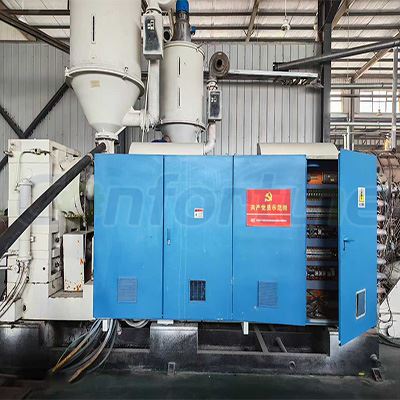
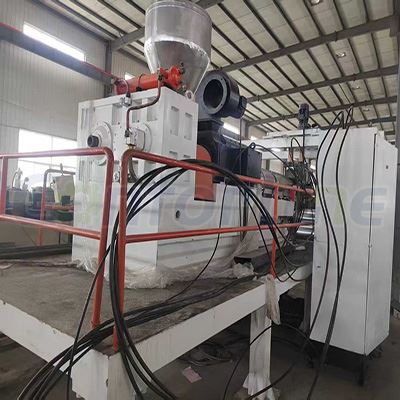
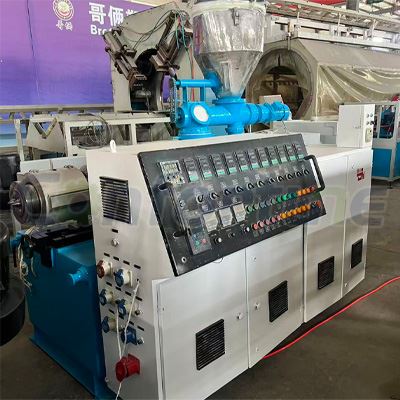
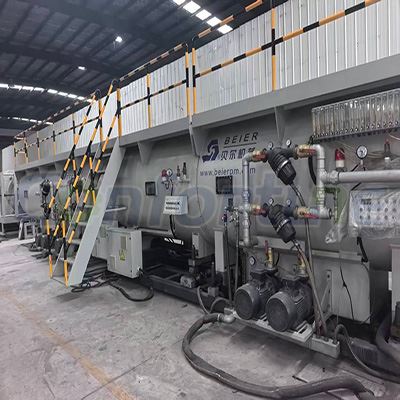
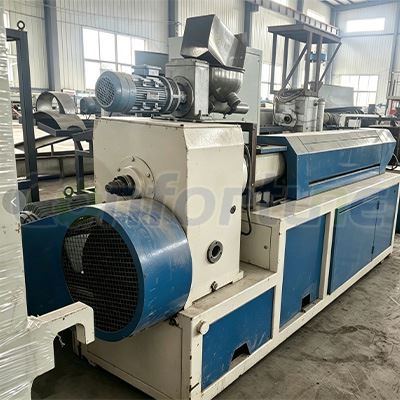
As a supplier of used extruder machines, I understand the importance of proper cleaning and maintenance for these valuable pieces of equipment. A well - cleaned extruder not only performs better but also has a longer lifespan. In this blog, I'll share a comprehensive guide on how to clean a used extruder machine.
Pre - cleaning Preparations
Before you start the cleaning process, it's crucial to take some safety precautions. First, ensure that the extruder is completely powered off and disconnected from the power source. This will prevent any accidental start - up during the cleaning process, which could lead to serious injuries.
Next, gather all the necessary cleaning tools and materials. You'll need a set of wrenches and screwdrivers to disassemble parts of the extruder if required. For cleaning agents, food - grade mineral oil is a great choice as it is non - toxic and can effectively remove grease and debris. You'll also need some clean rags, wire brushes, and a vacuum cleaner to collect loose particles.
Disassembly of the Extruder
If possible, disassemble the extruder into its major components. This step will allow you to access hard - to - reach areas and clean them more thoroughly. Start by removing the hopper. The hopper is where the raw materials are fed into the extruder, and it often accumulates dust, debris, and leftover materials. Use a wire brush to scrub the inside of the hopper, and then wipe it down with a clean rag soaked in mineral oil.
Next, remove the screw assembly. The screw is the heart of the extruder, and it can get clogged with melted plastics or other materials. Carefully unscrew the bolts holding the screw in place and gently pull it out. Be extremely careful not to damage the screw threads or the barrel as they are precision - engineered components.
Cleaning the Screw
Once the screw is removed, place it on a clean workbench. Use a wire brush to remove any large chunks of material stuck on the screw. For stubborn deposits, you can soak the screw in a container filled with mineral oil for a few hours. This will soften the deposits, making them easier to remove.
After soaking, take the screw out of the oil and use a wire brush to scrub it again. Pay special attention to the grooves and threads of the screw, as these areas can trap a lot of debris. You can also use a small pick or a dental tool to remove any remaining particles from the tight spaces.
Finally, rinse the screw with clean water and dry it thoroughly with a clean rag. Make sure there is no moisture left on the screw, as it can cause rusting over time.
Cleaning the Barrel
The barrel is the housing for the screw, and it also needs to be cleaned properly. Use a vacuum cleaner to remove any loose debris from the inside of the barrel. Then, insert a long - handled wire brush into the barrel and scrub the inner walls. Move the brush back and forth to dislodge any stubborn deposits.
For more thorough cleaning, you can use a cleaning rod with a cloth attached to it. Dip the cloth in mineral oil and run it through the barrel several times. This will help to remove any remaining grease and dirt.
Cleaning the Heating and Cooling Systems
The heating and cooling systems of the extruder are essential for its proper operation. The heating elements can accumulate dirt and debris, which can affect their efficiency. Use a soft brush to clean the heating elements gently. Be careful not to damage the heating coils.
The cooling system, usually consisting of water channels or air vents, can also get clogged with dust and debris. Use compressed air to blow out any particles from the cooling channels. If possible, remove the cooling system components and clean them separately.
Reassembly of the Extruder
Once all the components are clean and dry, it's time to reassemble the extruder. Start by inserting the screw back into the barrel. Make sure the screw is properly aligned and the threads are engaged correctly. Then, tighten the bolts holding the screw in place.


Next, reinstall the hopper. Check that it is securely attached and that there are no gaps or leaks.
Final Checks
After reassembly, perform a final check of the extruder. Make sure all the parts are properly installed and tightened. Inspect the electrical connections to ensure they are secure.
Before starting the extruder, run a test cycle with a small amount of cleaning material. This will help to flush out any remaining debris and ensure that the extruder is working properly.
Conclusion
Cleaning a used extruder machine is a detailed and time - consuming process, but it is essential for maintaining the performance and longevity of the equipment. By following the steps outlined in this guide, you can ensure that your used extruder is clean and ready for operation.
If you are in the market for a used extruder machine, we offer a wide range of high - quality options. Our Second Hand Twin Screw Extruder is a popular choice among our customers, known for its reliability and efficiency. We also have the SJSZ80/156 Twin - screw Extruder and the Second - hand Twin - screw Granulator available for purchase.
If you have any questions about our used extruder machines or need further advice on cleaning and maintenance, feel free to contact us for a detailed discussion and potential purchase. We are committed to providing you with the best equipment and support.
References
- "Extrusion Technology Handbook" by James L. White and Paul F. Johnson
- Industry standards and guidelines for extruder maintenance and cleaning